Building A Presentation With HTML, CSS, & JS
January 02, 2019

Building beautiful presentations is hard. Often you’re stuck with Keynote or PowerPoint, and the templates are extremely limited and generic. Well not anymore.
Today, we’re going to learn how to create a stunning and animated presentation using HTML, CSS, and JavaScript.
If you’re a beginner to web development, don’t fret! This tutorial will be easy enough to keep up with. So let’s slide right into it!
Getting started
We’re going to be using an awesome framework called Reveal.js. It provides robust functionality for creating interesting and customizable presentations.
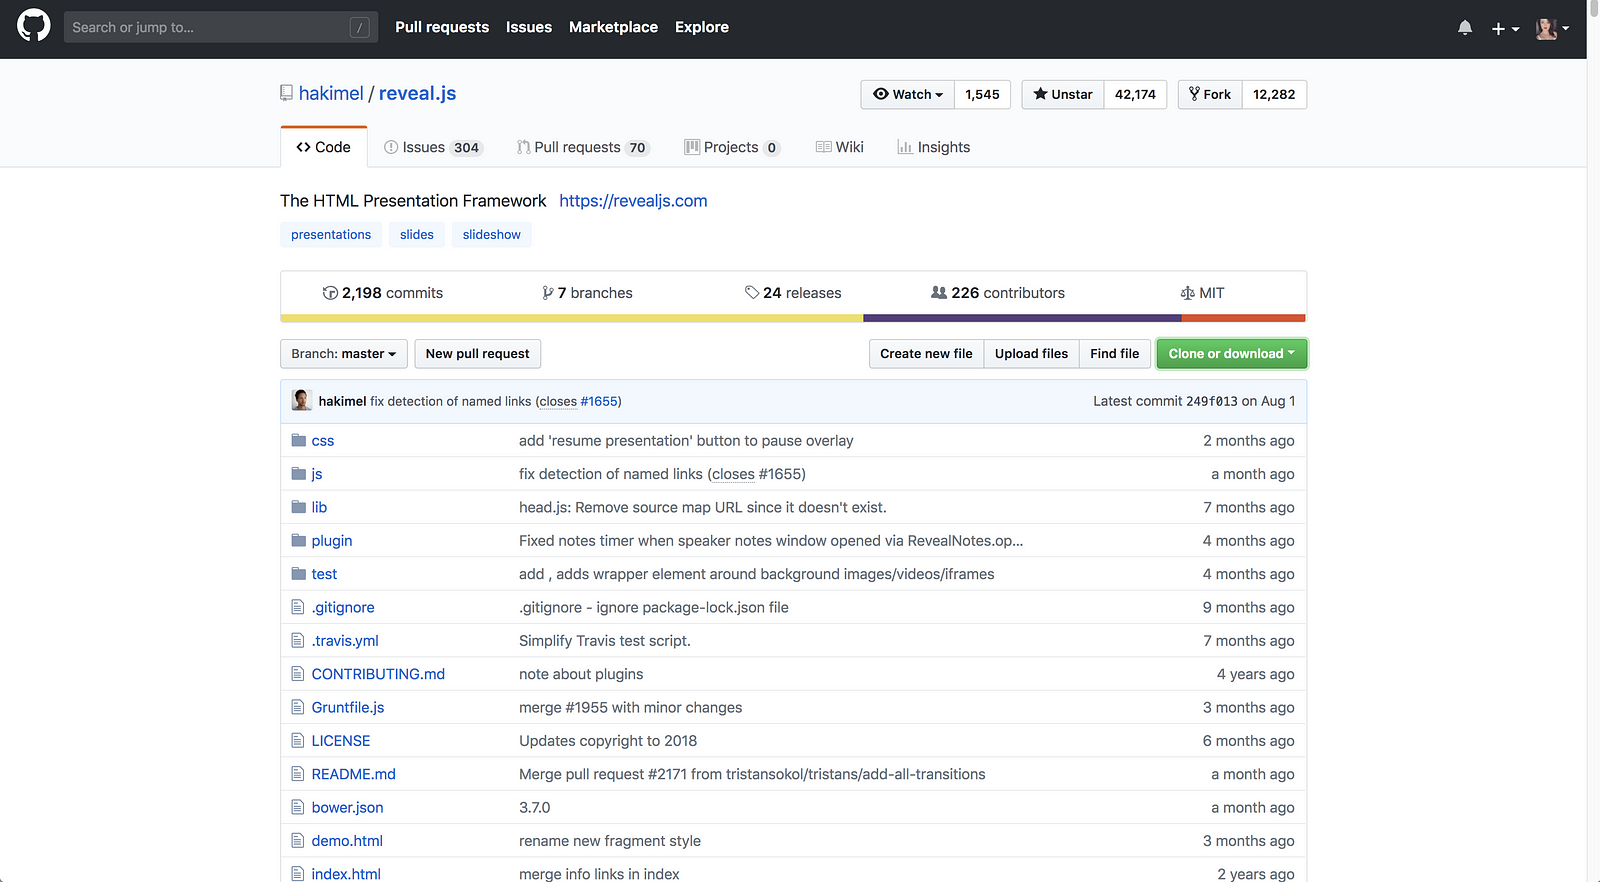
- Head over to the Reveal.js repository and clone the project (you can also fork this to your GitHub namespace).
- Change directories into your newly cloned folder and run npm install to download the package dependencies. Then run
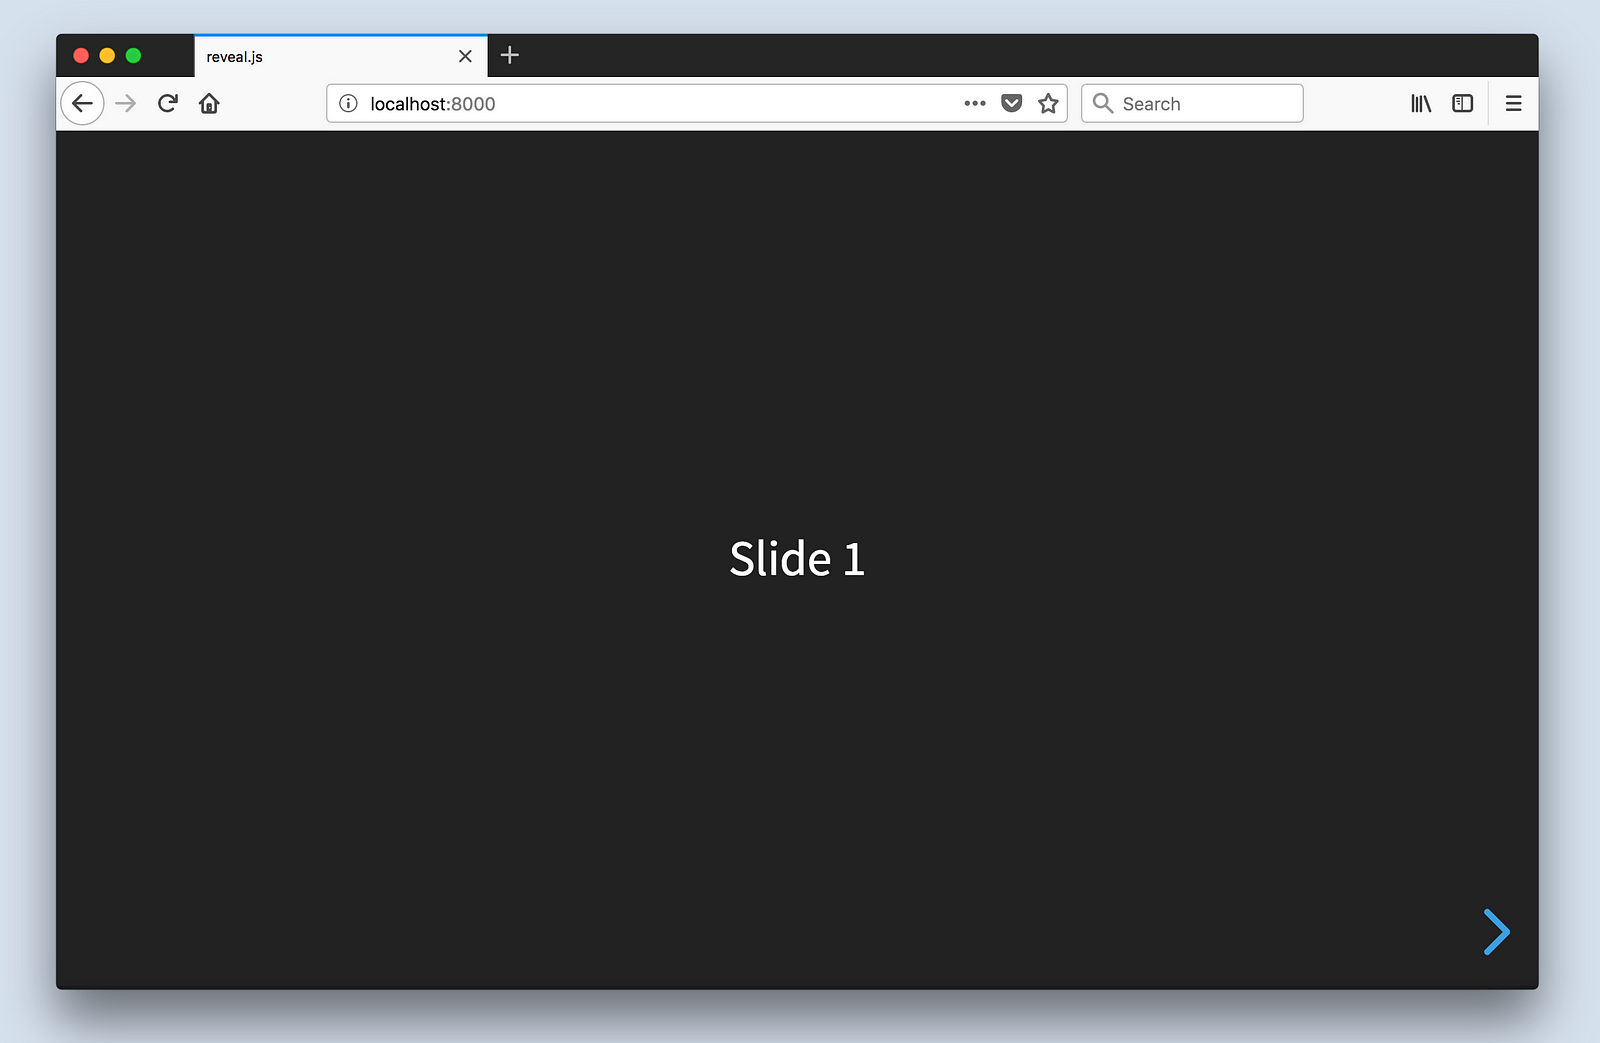
npm startto run the project.
The index.html file holds all of the markup for the slides. This is one of the downsides of using Reveal.js; all of the content will be placed inside this HTML file.
Themes
Built-In Themes
Reveal includes 11 built-in themes for you to choose from:

Changing The Theme
- Open
index.html - Change the CSS import to reflect the theme you want to use
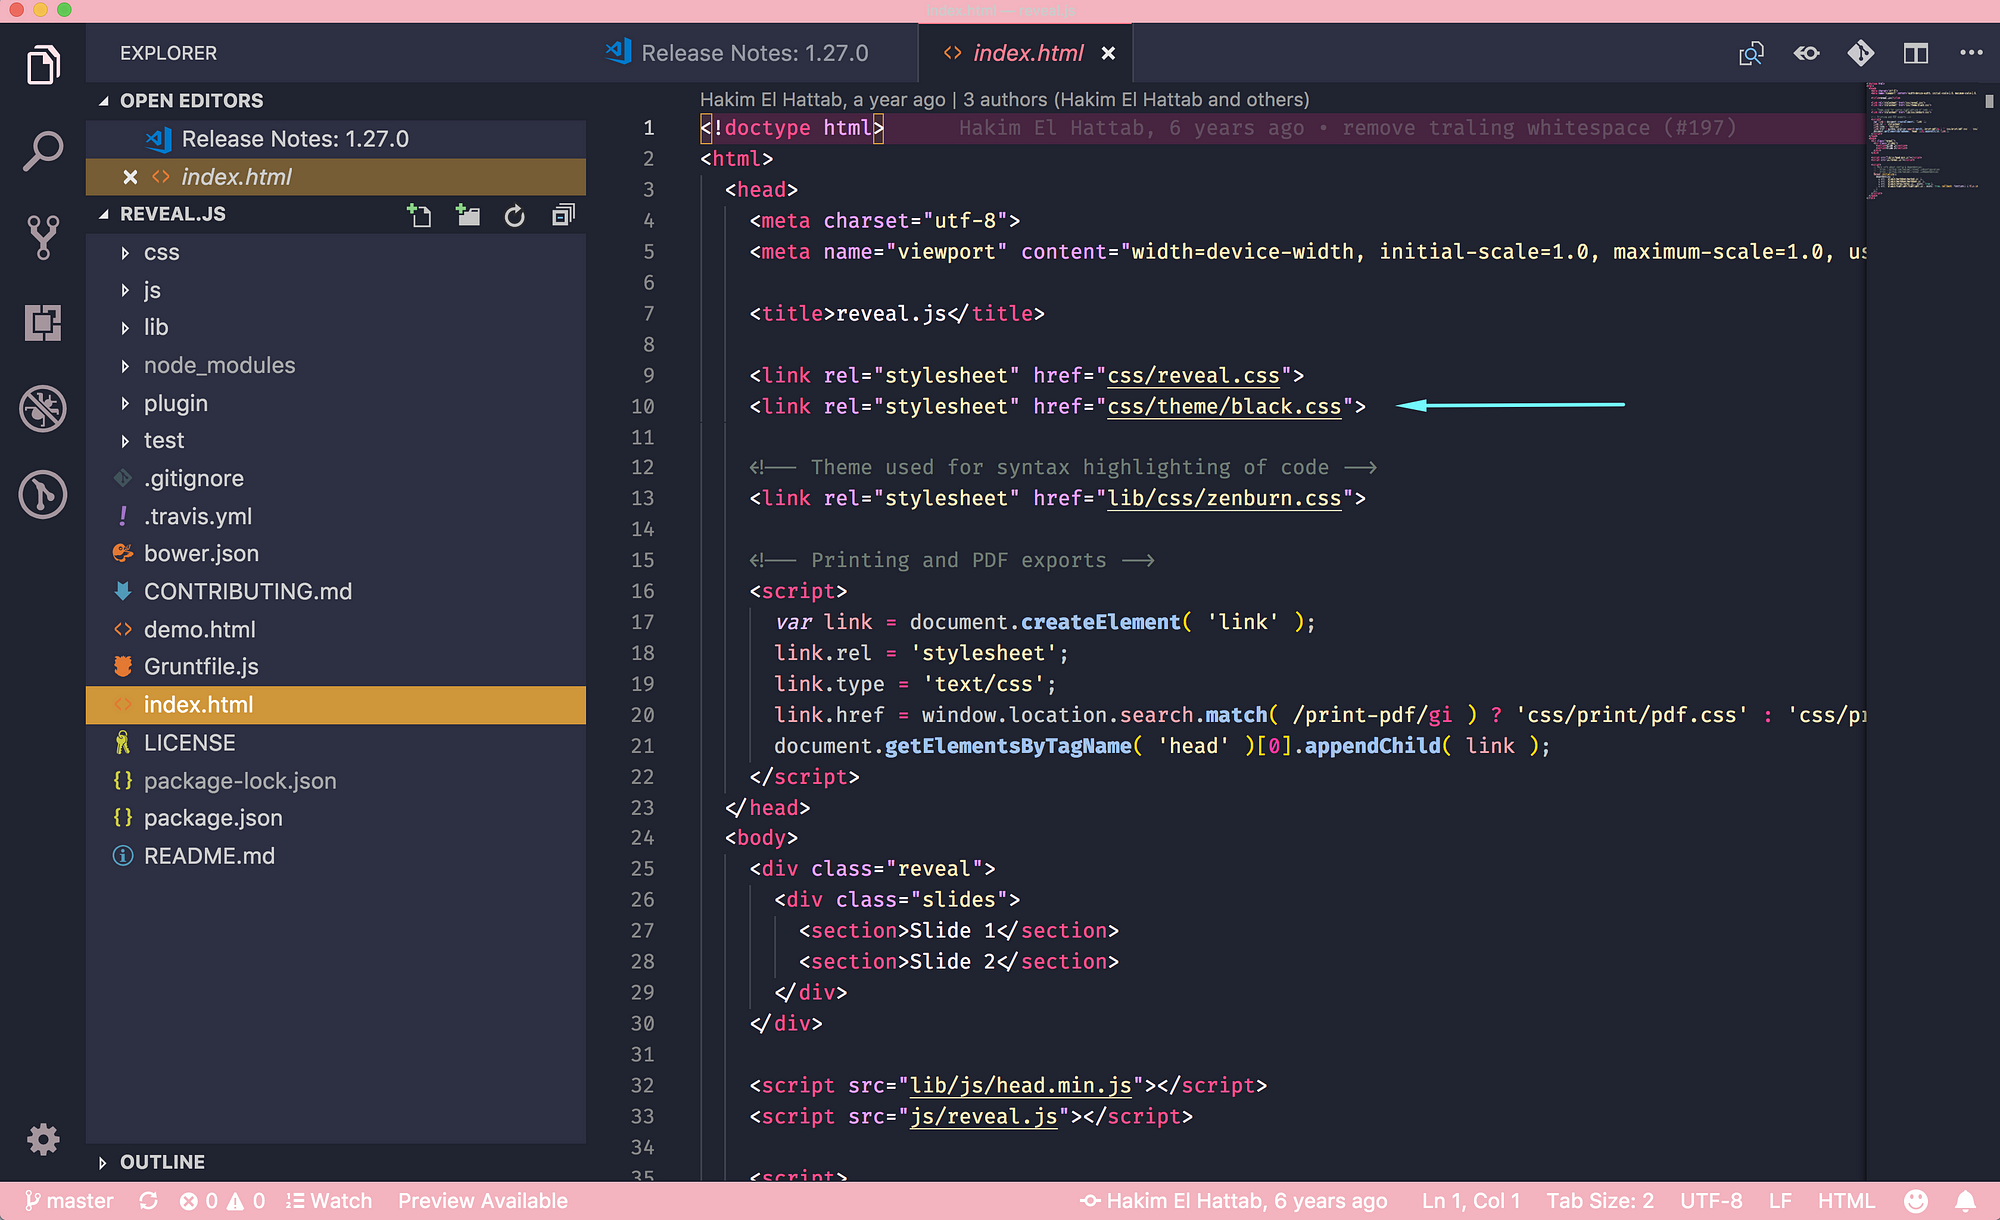
The theme files are:
beige.cssblack.cssblood.cssleague.cssmoon.cssnight.cssserif.csssimple.csssky.csssolarized.csswhite.css
Custom Themes
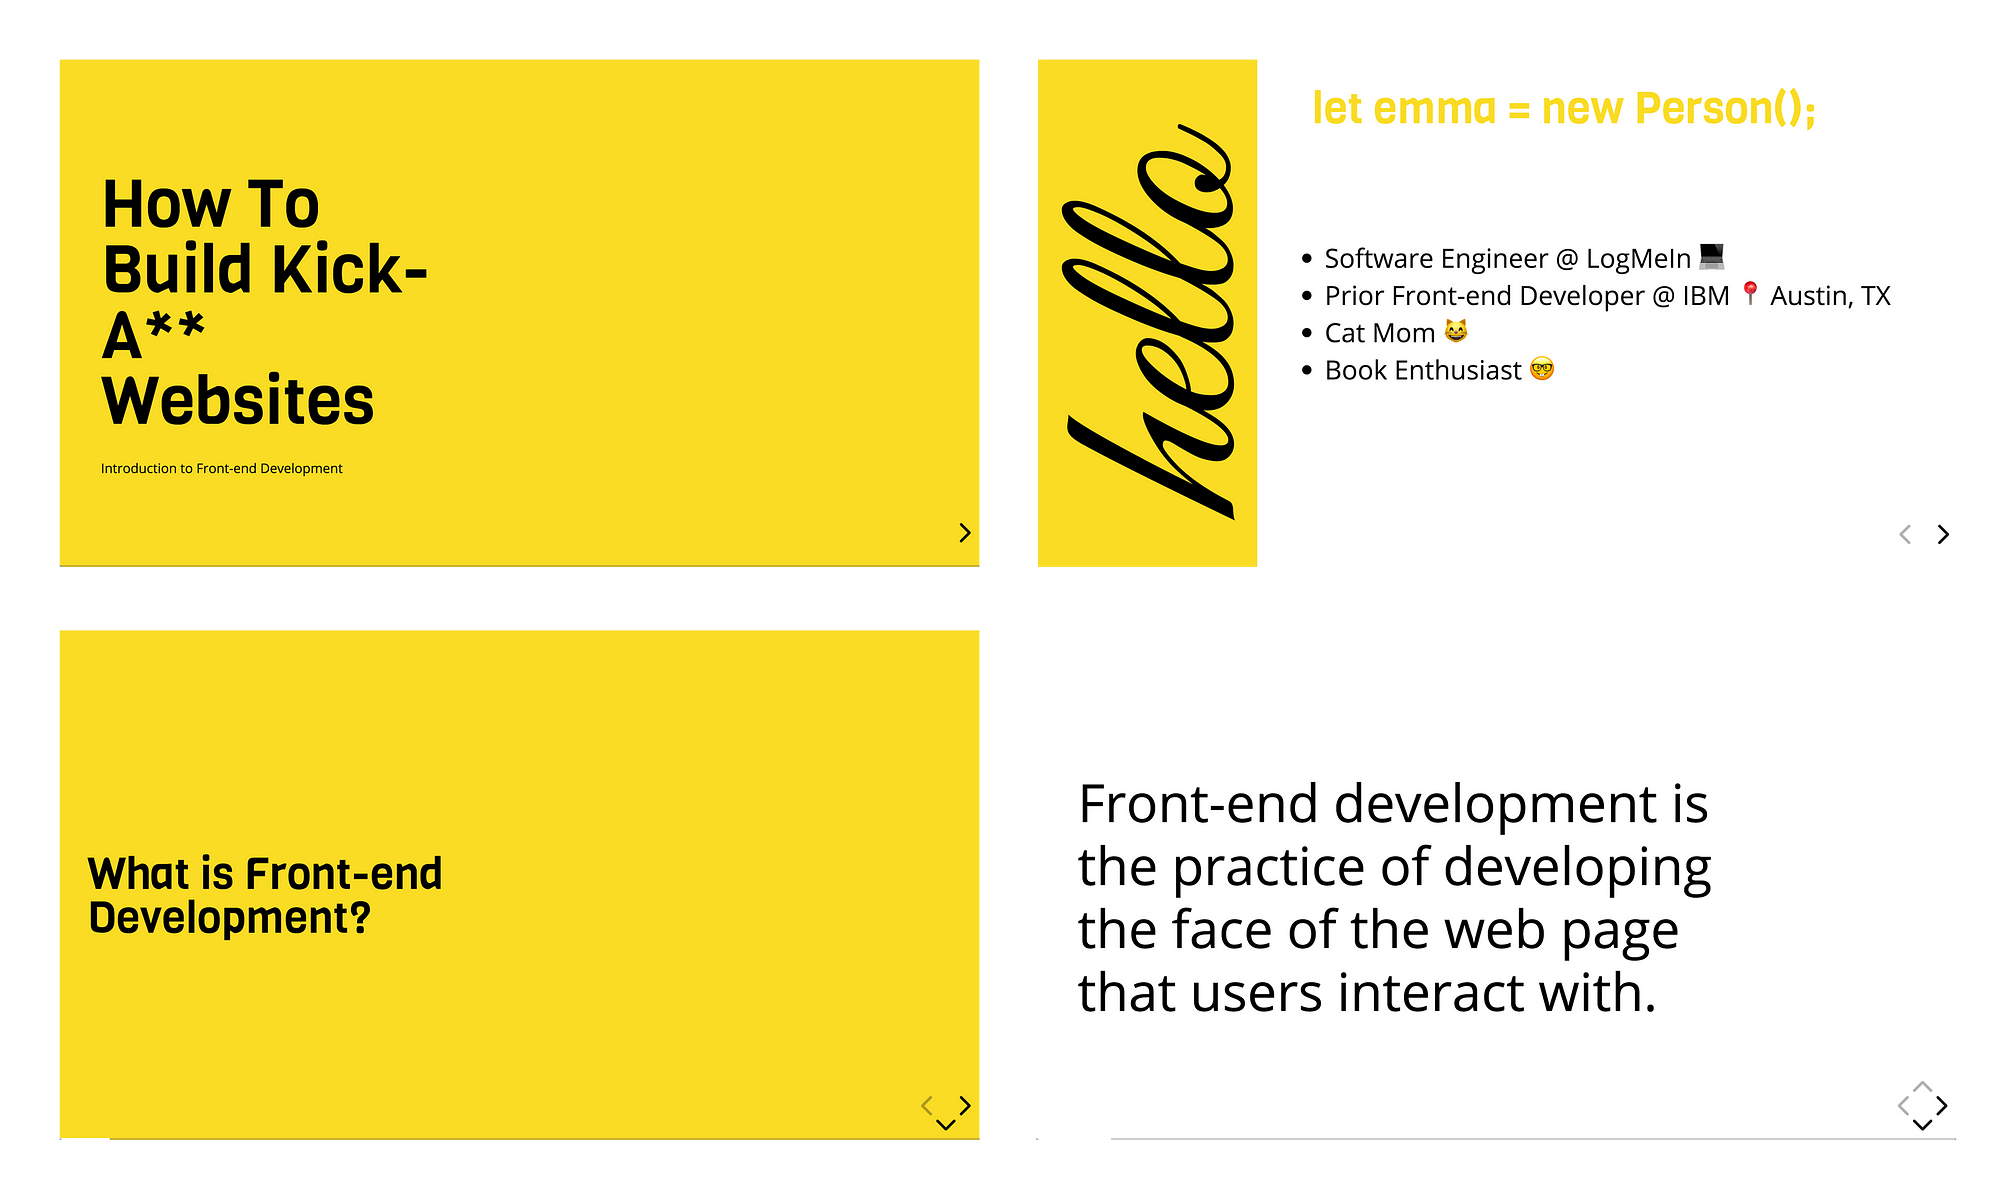
It’s quite easy to create a custom theme. Today, I’ll be using my custom theme from a presentation I gave called “How To Build Kick-Ass Website: An Introduction To Front-end Development.”
Here is what my custom slides look like:
- Open
css/theme/srcinside your IDE. This holds all of the Sass files (.scss) for each theme. These files will be transpiled to CSS using Grunt (a JavaScript task runner). If you prefer to write CSS, go ahead and just create the CSS file inside css/theme. - Create a new
.scssfile. I will call minecustom.scss. You may have to stop your localhost and runnpm run buildto transpile your Sass code to CSS. - Inside the
index.htmlfile, change the CSS theme import in the<head>tag to use the name of the newly created stylesheet. The extension will be.css, not.scss. - Next, I created variables for all of the different styles I wanted to use. You can find custom fonts on Google Fonts. Once the font is downloaded, be sure to add the font URL’s into the
index.htmlfile.
Here are the variables I chose to use:
- Title Font: Viga
- Content Font: Open Sans
- Code Font: Courier New
- Cursive Font: Great Vibes
- Yellow Color:
#F9DC24 - Add a
.revealclass to the custom Sass file. This will wrap all of the styles to ensure our custom theme overrides any defaults. Then, add your custom styling!
Unfortunately, due to time constraints, I’ll admit that I used quite a bit of !important overrides in my CSS. This is horrible practice and I don’t recommend it. The reveal.css file has extremely specific CSS styles, so I should have, if I had more time, gone back and ensured my class names were more specific so I could remove the !importants.
Mixins & Settings
Reveal.js also comes with mixins and settings you can leverage in your custom theme.
To use the mixins and settings, just import the files into your custom theme:
@import "../template/mixins";
@import "../template/settings";
Mixins You can use the vertical-gradient, horizontal-gradient, or radial-gradient mixins to create a neat visual effect.
All you have to do is pass in the required parameters (color value) and voila, you’ve got a gradient!
Settings In the settings file, you’ll find useful variables like heading sizes, default fonts and colors, and more!
Comtent
Elements
The structure for adding new content is:
.reveal > .slides > section
The <section> element represents one slide. Add as many sections as you need for your content.
Vertical Slides
To create vertical slides, simply nest sections.
Transitions
There are several different slide transitions for you to choose from:
- None
- Fade
- Slide
- Convex
- Concave
- Zoom
To use them, add a data-transition="{name}" to the <section> which contains your slide data.
Fragments
Fragments are great for highlighting specific pieces of information on your slide. Here is an example.
To use fragments, add a class="fragment {type-of-fragment}" to your element.
The types of fragments can be:
- grow
- shrink
- fade-out
- fade-up
- fade-in-then-out
- fade-in-then-semi-out
- highlight-current-blue
- highlight-red
- highlight-green
- highlight-blue
You can additionally add indices to your elements to indicate in which order they should be highlighted or displayed. You can denote this using the data-fragment-index={index} attribute.
There are way more features to reveal.js which you can leverage to build a beautiful presentation, but these are the main things which got me started.
To learn more about how to format your slides, check out the reveal.js tutorial. All of the code for my presentation can be viewed on GitHub. Feel free to steal my theme!