Using Git Tags To Version Coding Tutorials
March 16, 2019

Coding tutorials can be difficult to structure. It’s often so easy to get caught up in your expanding code base and keep track of important project milestones. Wouldn’t it be great if there was a solution?
Look no further! Git tags to the rescue!
Git tags are a great way to version your coding tutorials to make your life, and your readers’ lives, easier. They allow you to tag specific points in a repository’s history and return to them at later points in time.
First, let’s check out the basics of creating, listing, checking out, and deleting tags.
List Existing Tags
Listing your Git tags is as simple as typing git tag followed by an optional -l or --list parameter. This command will list all tags in alphabetical order.
Additionally, you can list all tags which match a certain structure. For example, if I want to list all tags that begin with v12, I can type git tag -l "v12.*" and this might output something like this:
$ git tag -l "v12.*"
v12.0.0
v12.0.1
v12.1.0
v12.3
Note: If you want to use the wildcard (*) to match specific tag patterns, you must include the --list (or -l) parameter.
Creating A Tag
You can create two types of tags: lightweight and annotated.
Lightweight Tags
A lightweight tag is similar to a branch; it’s just a pointer to a specific commit.
To create a lightweight tag, all you need to provide is a tag name. You don’t need to include any of the flags you would see with annotated tags (see below).
$ git tag v2.4-lightweight
$ git tag
v0.1
v0.5
v2.3
v2.4-lightweight
If we run git show on this tag, we simply see the commit hash, the author, the date, and the commit message.
$ git show v2.4-lightweight
commit ca82a6dff817ec66f44342007202690a93763949
Author: Emma Wedekind <wedekind.emma@gmail.com>
Date: Sat Mar 16 09:48:93 2918 -0700

        changed the version number
Annotated Tags
An annotated tag, in contrast, is stored as a full object in the Git database. These tags are checksummed; they contain the name of the person who created the tag, email, and date. Annotated tags include a message and can be verified with a GNU Privacy Guard (GPG).
To create an annotated flag, you can use the -a flag.
$ git tag -a v2.4 -m "This is my 2.4 version"
$ git tag
v0.1
v0.5
v2.3
v2.4
The -m flag is followed by the tagging message you want to include. If you don’t include this flag, Git will launch your code editor for you to include it.
We can use the git show command to view the tag data.
$ git show v2.4
tag v2.4
Tagger: Emma Wedekind <wedekind.emma@gmail.com>
Date: Sat Mar 16 09:48:93 2918 -0700

This is my 2.4 version

commit ca82a6dff817ec66f44342007202690a93763949
Author: Kai Wedekind <wedekind.kai@gmail.com>
Date: Thursday Mar 14 19:38:11 2918 -0700

           changed the version number
Pushing Tags To Remote Servers
Using the git push command won’t push the tags you’ve created; you must explicitly push each tag after they’ve been created. This process is similar to sharing remote branches.
$ git push origin v2.4
Counting objects: 14, done.
Delta compression using up to 8 threads.
Compressing objects: 100% (12/12), done.
Writing objects: 100% (14/14), 2.05 KiB | 0 bytes/s, done.
Total 14 (delta 3), reused 0 (delta 0)
To git@github.com:emmawedekind/mycoolproject.git
 * [new tag]         v2.4 -> v2.4
To push multiple tags, you can use the --tags option to the push command.
$ git push origin --tagsDeleting Tags
You can use the git tag -d <tagname> command to delete a tag from your local repository.
$ git tag -d v2.4-lightweight
Deleted tag 'v2.4-leightweight' (was e7d6add)
This command, however, doesn’t remove the tag from your remote servers. To complete this action you can either use the git push <remote> :refs/tags/<tagname> command:
$ git push origin :refs/tags/v2.4-lightweight
To /git@github.com:emmawedekind/mycoolproject.git
 - [deleted]         v2.4-lightweight
You can additionally use the git push origin --delete <tagname> command:
$ git push origin --delete v2.4-lightweightChecking Out Tags
To check out a tag, you can use the git checkout command.
$ git checkout v2.4-lightweight
Note: checking out 'v2.4-lightweight'.

You are in 'detached HEAD' state. You can look around, make experimental
changes and commit them, and you can discard any commits you make in this
state without impacting any branches by performing another checkout.

If you want to create a new branch to retain commits you create, you may
do so (now or later) by using -b with the checkout command again. Example:

  git checkout -b <new-branch>

HEAD is now at 99ada87... Merge pull request #89 from emmawedekind/readme-addition

$ git checkout 2.0-beta-0.1
Previous HEAD position was 99ada87... Merge pull request #89 from emmawedekind/readme-addition
HEAD is now at df3f601... add getting started info
Great! Now that we know the basics of tagging, let’s use it to version one of our coding tutorials.
Project Structure
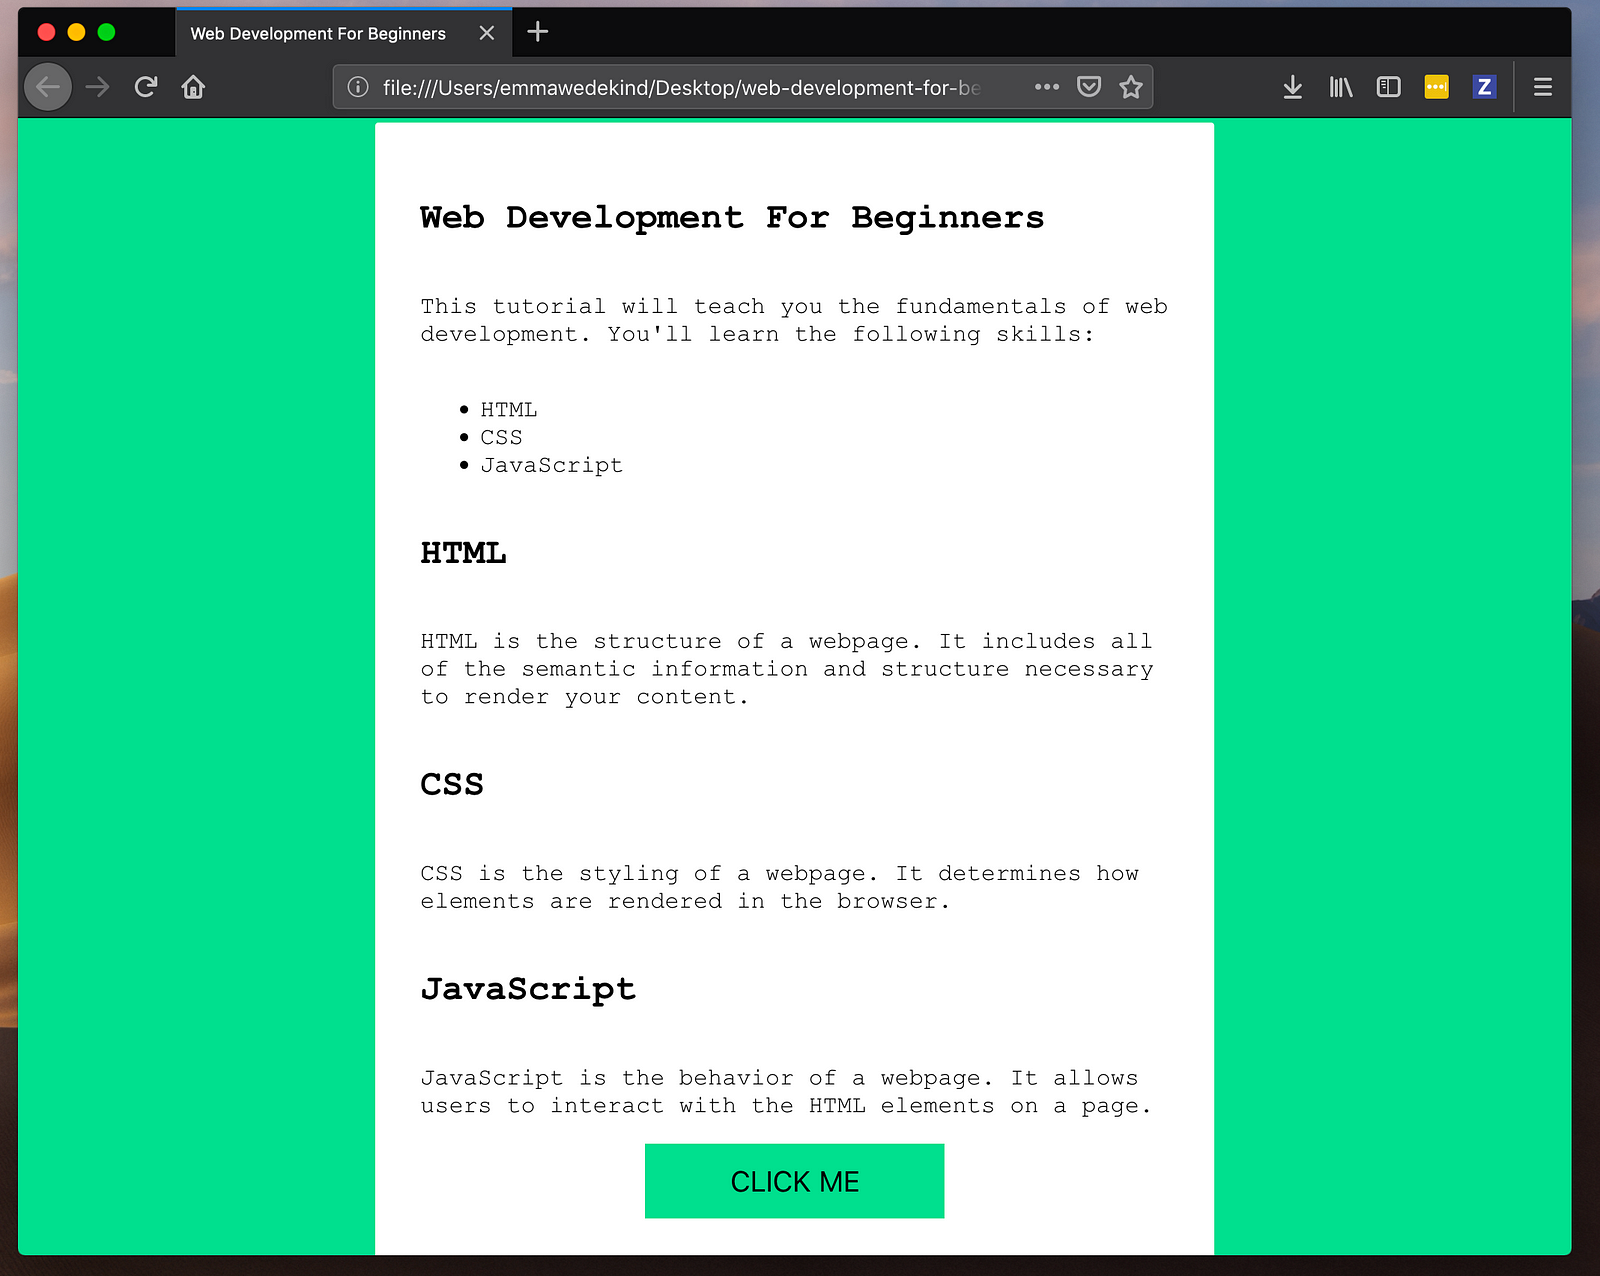
Let’s suppose I’m creating a tutorial called “Web Development For Beginners.” This tutorial will have three milestones: HTML, CSS, and JavaScript.
In order to preserve my project history at each milestone, and be able to quickly switch between the different histories, I want to create three tags: html, css, js.
Milestone 1: HTML
- Create a GitHub repository where you will keep your coding tutorial code. You can find my code here.

- Clone the repository.
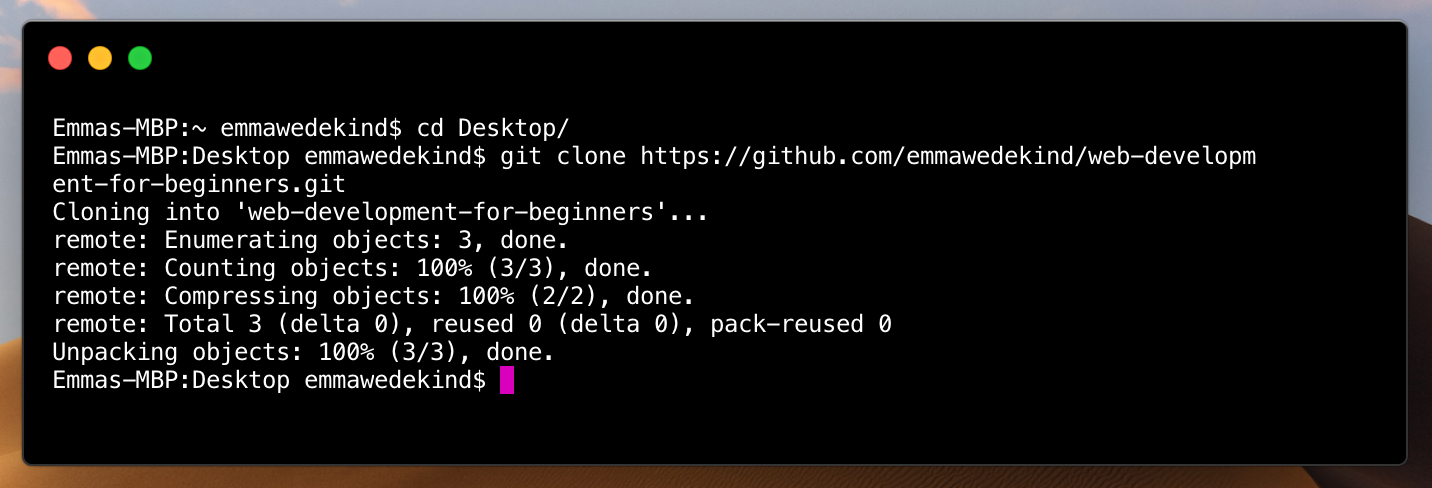
- Add an HTML template with some elements.
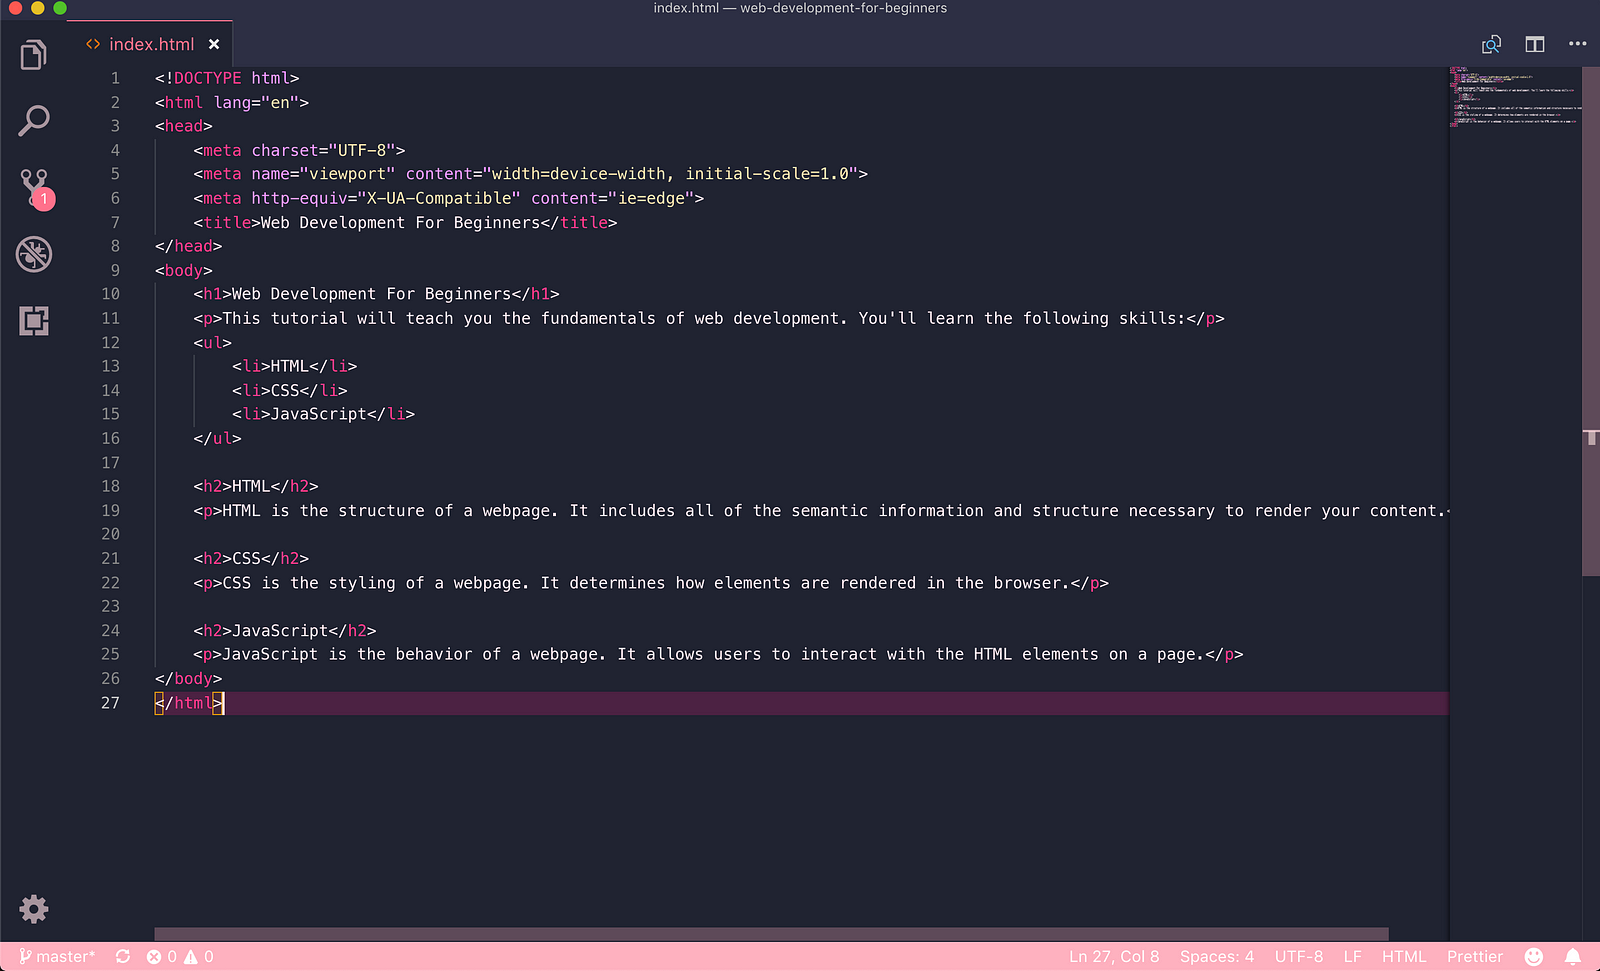
- Now, let’s add and commit our HTML code.
$ git add index.html
$ git commit -m "Adding the HTML structure"- Next, let’s add a tag to our HTML milestone so we can re-visit this code in the future. In the terminal, type the following command:
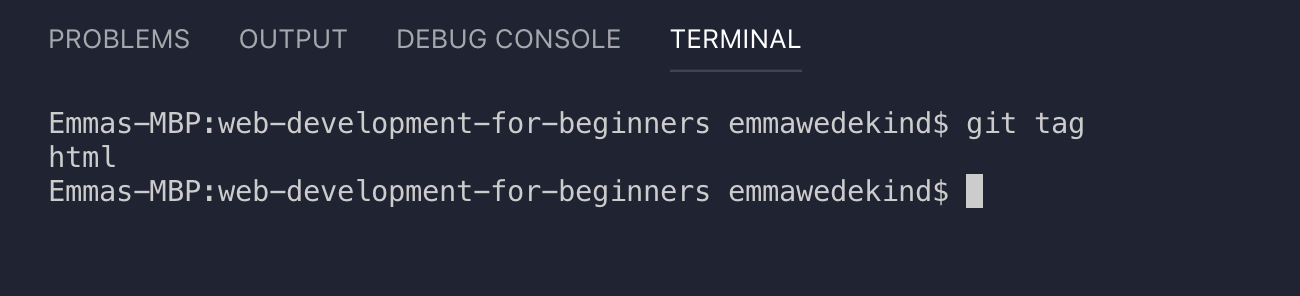
git tag -a html -m "The HTML code for this project"Note: You must commit your code before creating the tag.
Now, when you run git tag, you should see the name of your tag.
- We need to push the code and the tag to the remote server. Remember that tags aren’t included in the git push command; we have to use the
git push <origin> <tagname>command.
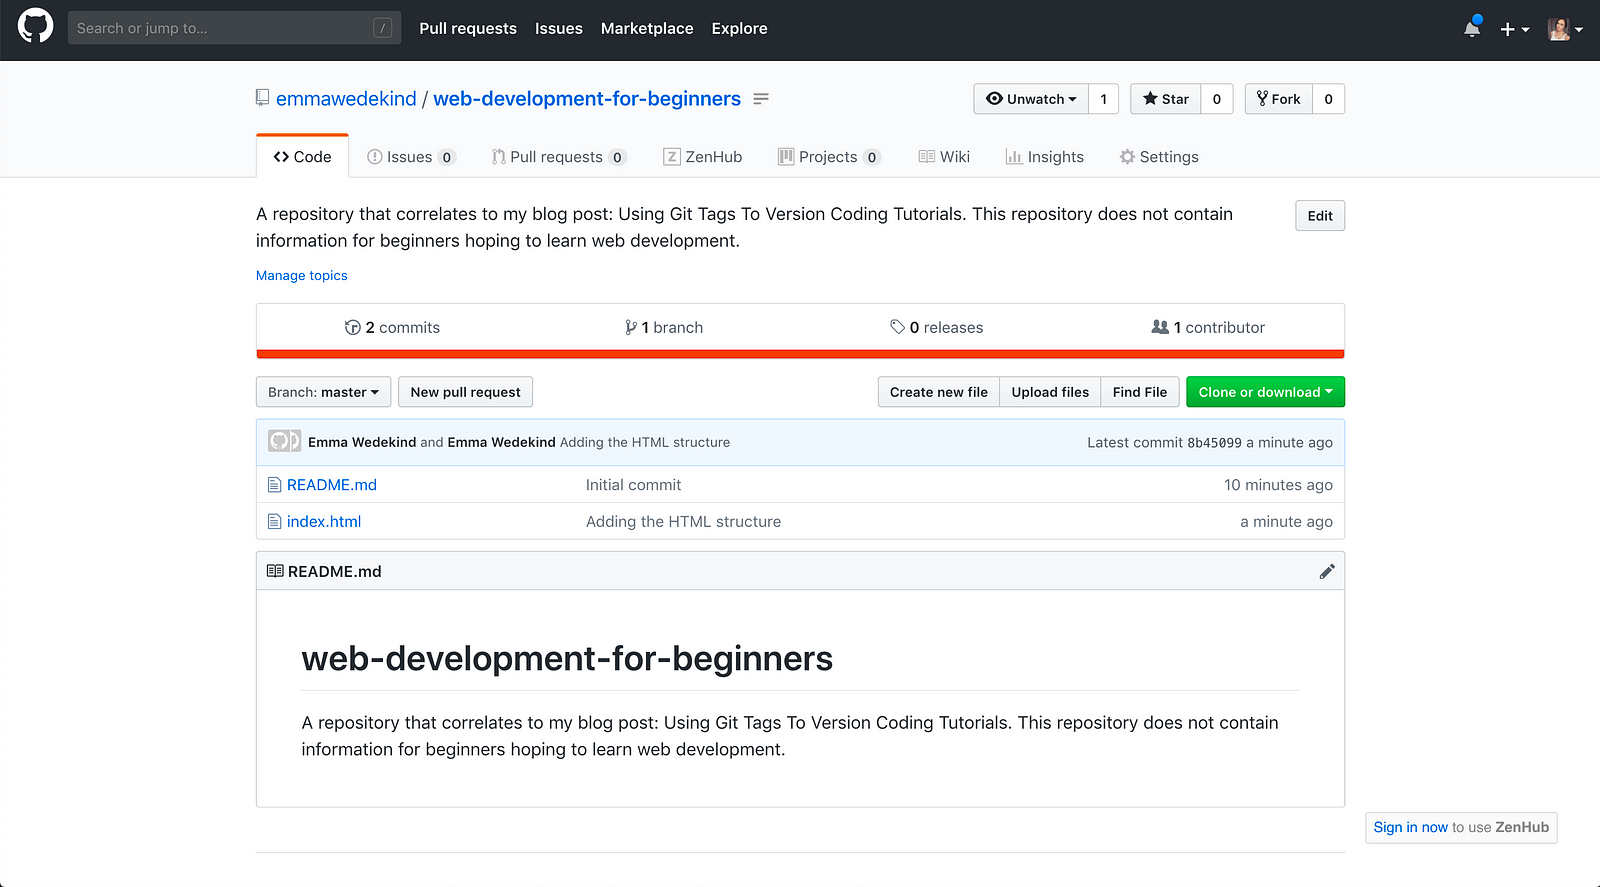
Let’s push our code first.
$ git pushGreat! If we head back to GitHub, we can see our code has been pushed to master.
Now, let’s push our tag name to GitHub.
$ git push origin htmlOnce this completes, let’s refresh GitHub once more. Now, we should see the tag appear under the Releases tab.
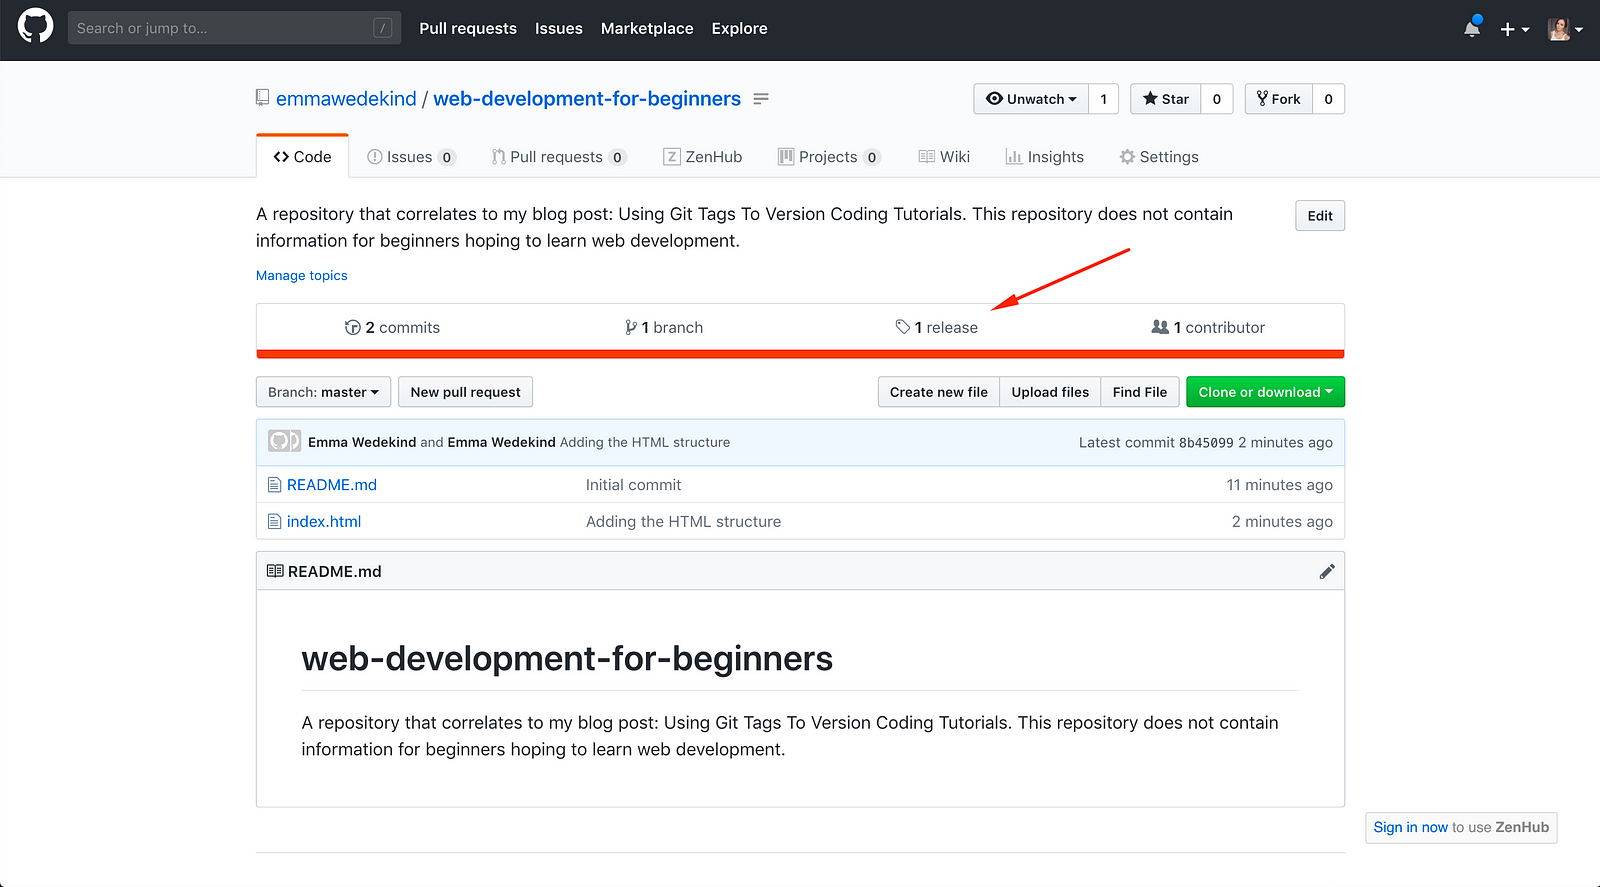
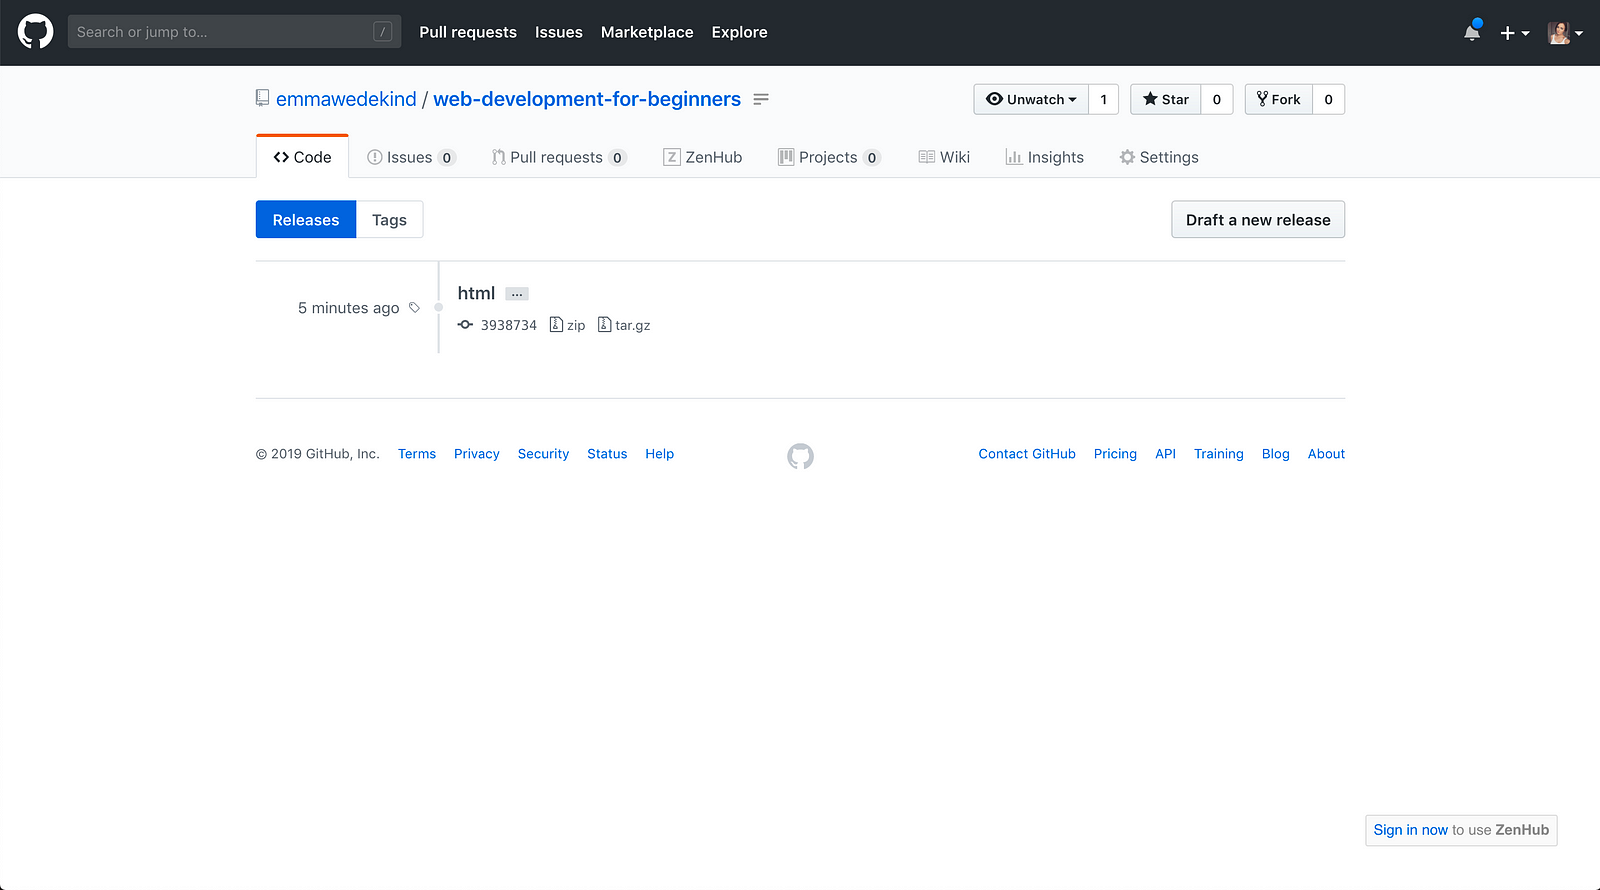
Wonderful! Now let’s create our next two milestones: CSS and JavaScript!
Milestone 2: CSS
The process for tagging the CSS milestone will be identical to the steps we followed for milestone 1. So for brevity’s sake, I’ll quickly run through the process.
- Create a stylesheet. I’ll call mine styles.css.
- Add some styling to the page. You can use class names, but to keep my tutorial short, I will just style the base HTML elements. Additionally, I added a
<section>element to wrap the main content so I could style it appropriately. You can view the full code here. - Link the stylesheet in the head of the
index.htmlfile
<link rel="stylesheet" href="./styles.css" />- Add and commit your code. You can refer to step four in milestone one for more details.
- Now it’s time to tag!
$ git tag -a css -m "The CSS code for this project"Now when we run git tag, we should see two tags: html and css.
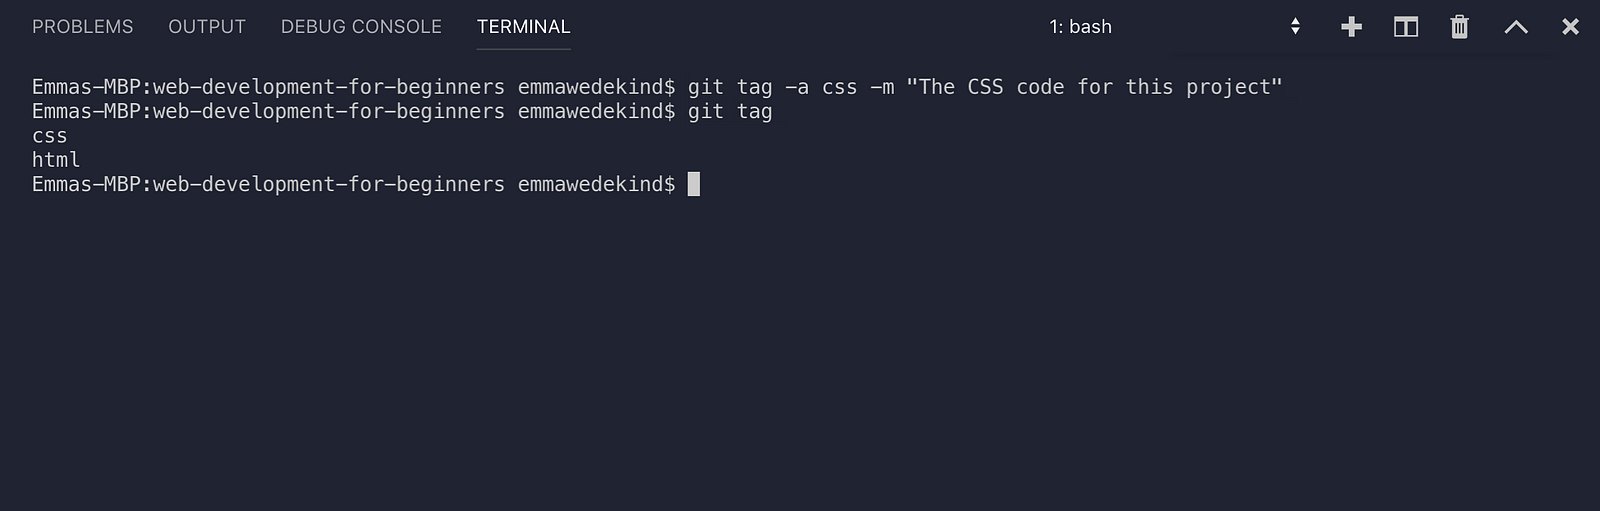
- Push your code and your tag to GitHub
$ git push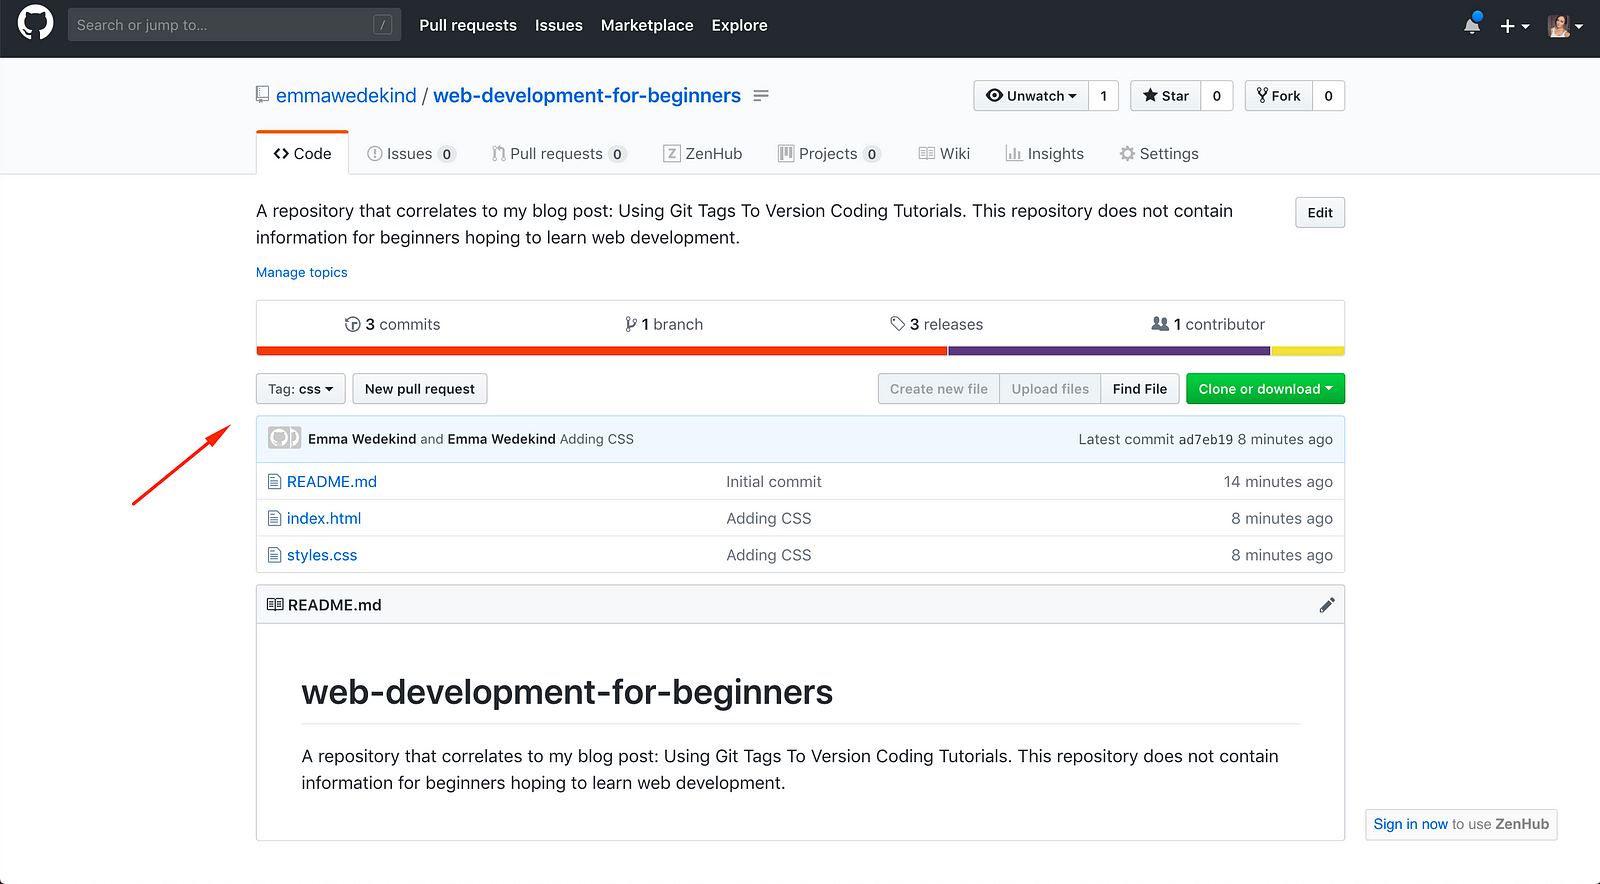
$ git push origin css- Double check that your tag and your code have been successfully pushed to the repository.
Finally, let’s add some behavior!
Milestone 3: JavaScript
I’m going to keep things super simple; we’ll add a button that, when clicked, alerts the user that they’ve clicked the button.
For the sake of not repeating myself, I’m going to skip the steps we followed in milestones one and two. But here’s a quick overview of the coded changes I made:
- Create an
index.jsfile. - Link the
index.jsfile in myindex.htmlfile. - Add a
<button>element to the template. - Attach an event listener to the button which will trigger an alert when clicked.
- Add some styling to the button.
- Add and commit your code.
- Create the
jstag. - Push all code and the tag to the GitHub repository.
And just to double check everything was pushed to the repository…
Great! Now let’s learn how to check out the different branches to view the milestone code.
Checking Out Milestones
During your coding tutorial, you may want to reference specific snapshots of code. For example, if I’m referencing the code I wrote in the HTML milestone, I want to instruct students to check out the html tag. You can do this in the following way:
$ git checkout htmlYour terminal output should look something like the following.
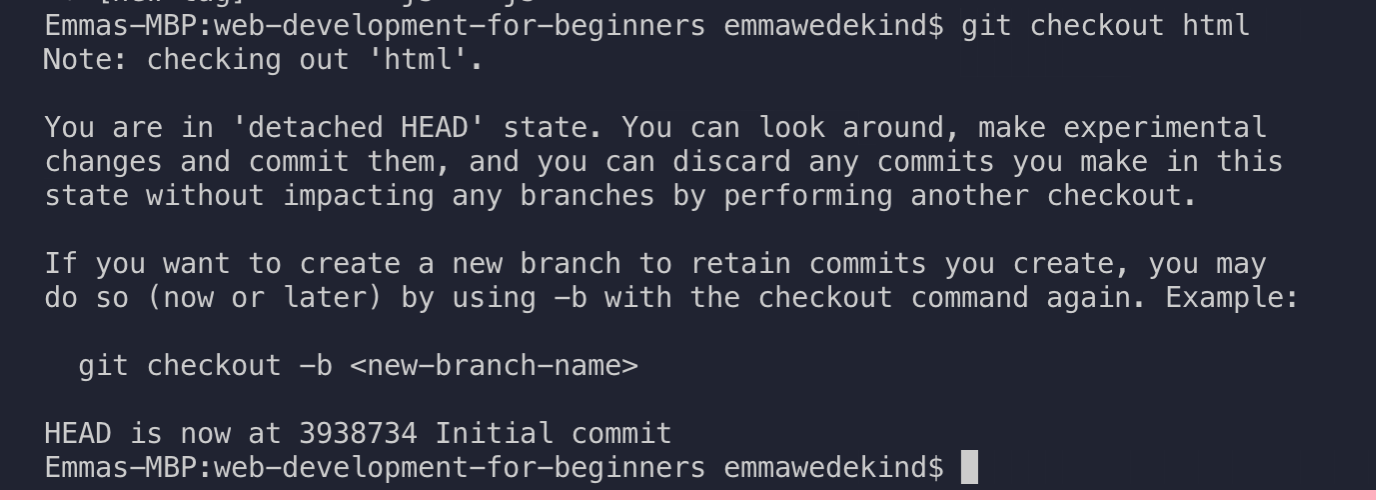
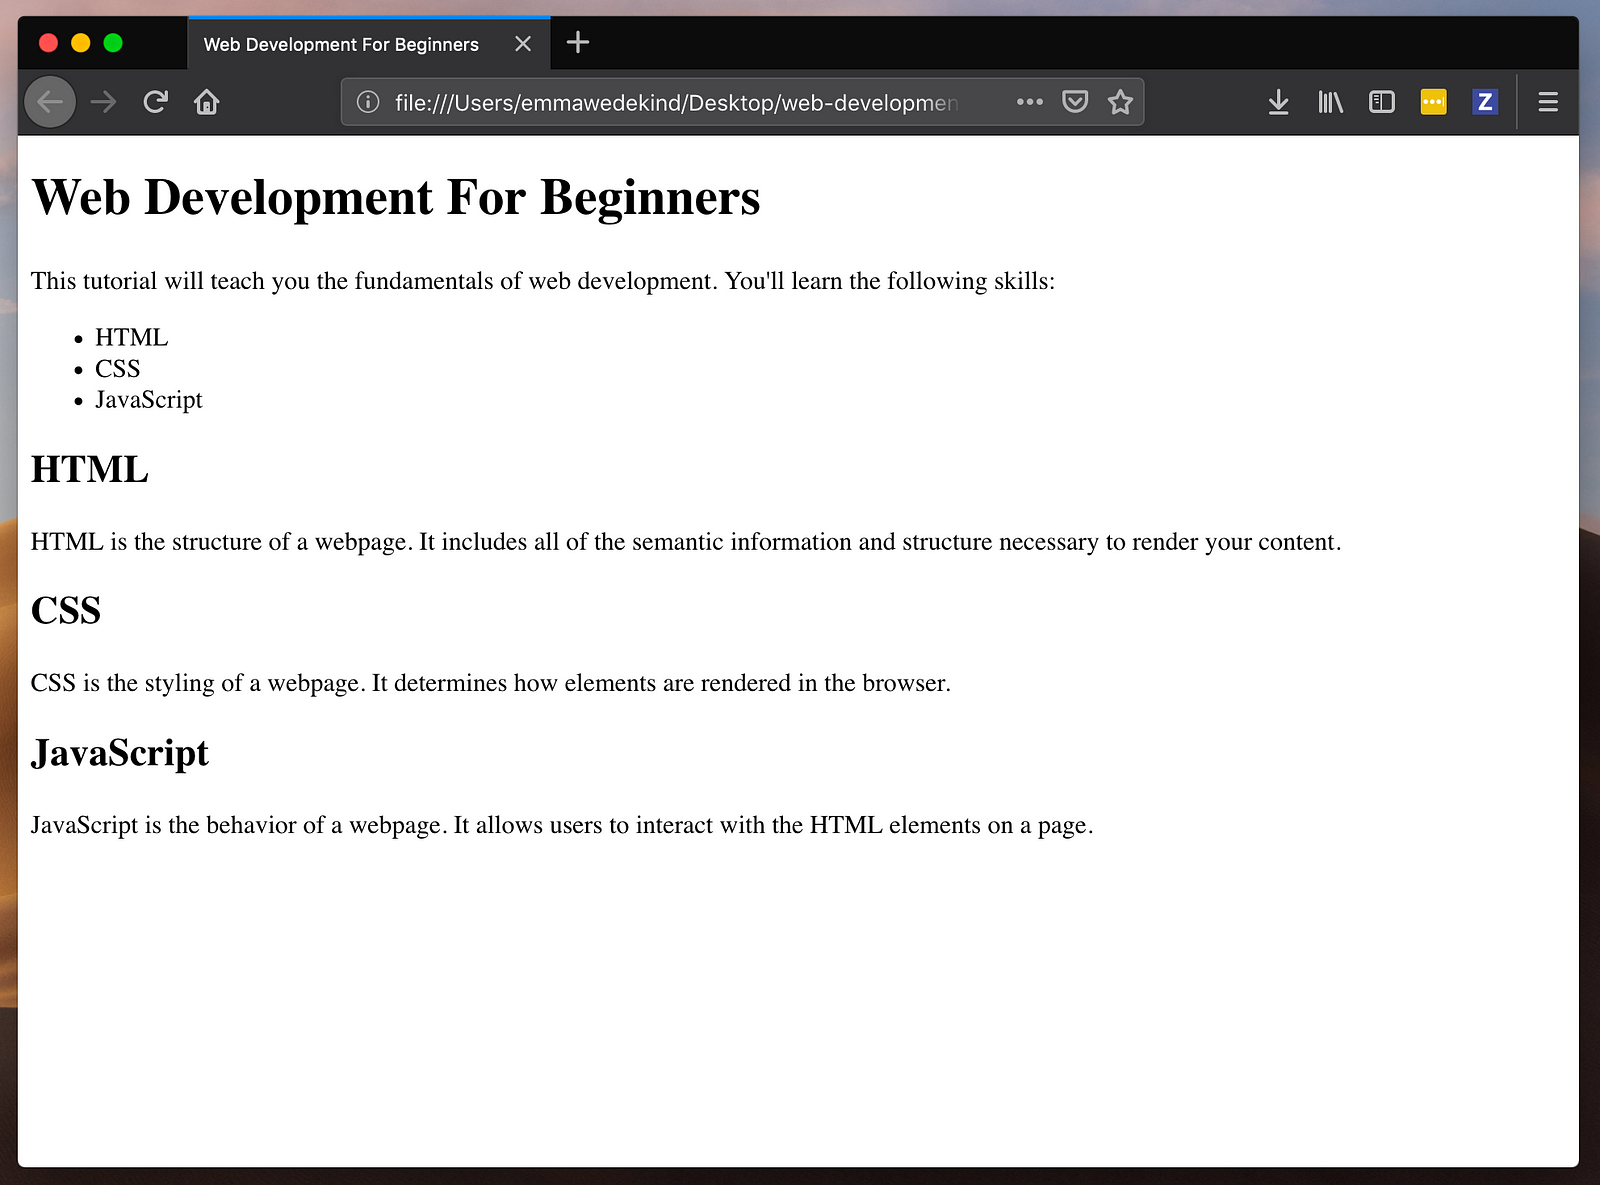
And when we refresh the browser, you should see the code without any styling or behavior.
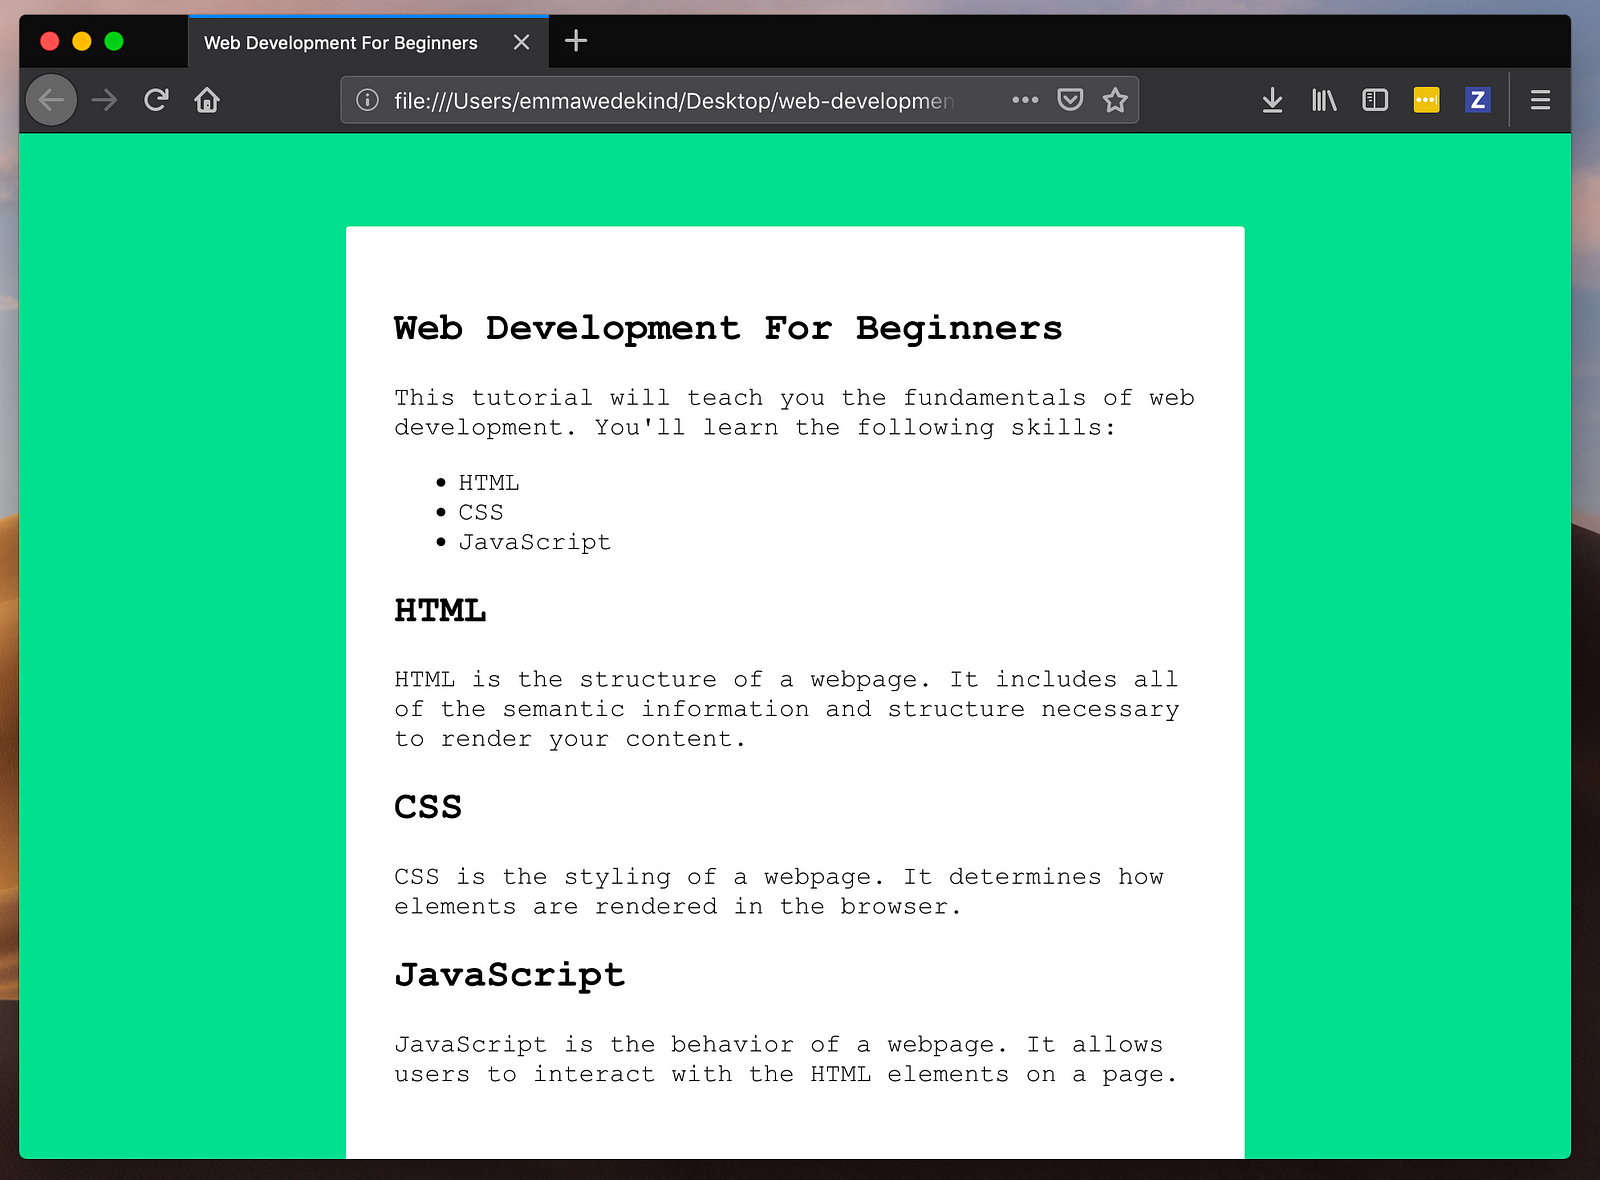
Now, let’s check out the CSS tag with git checkout css. Refreshing the browser, we see the following.
And lastly let’s check the JavaScript with git checkout js.
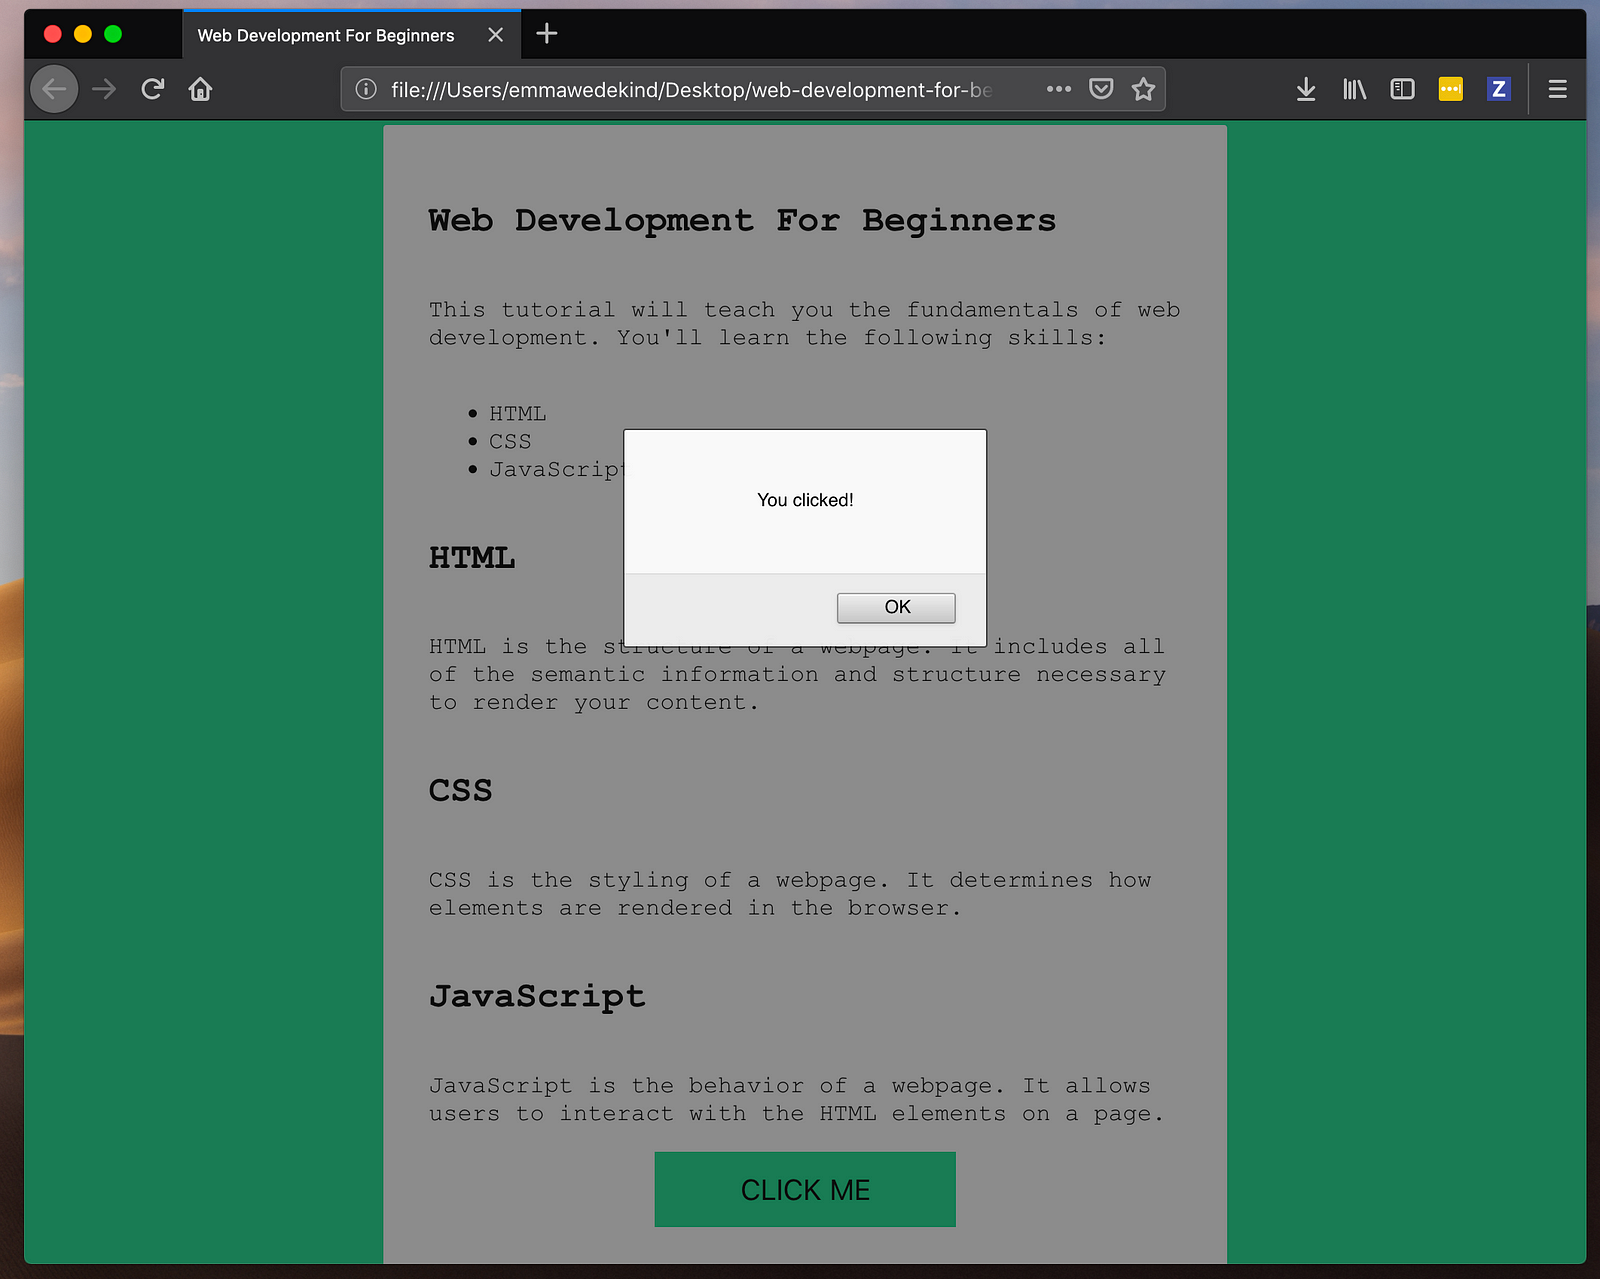
Great! It’s all working as expected!
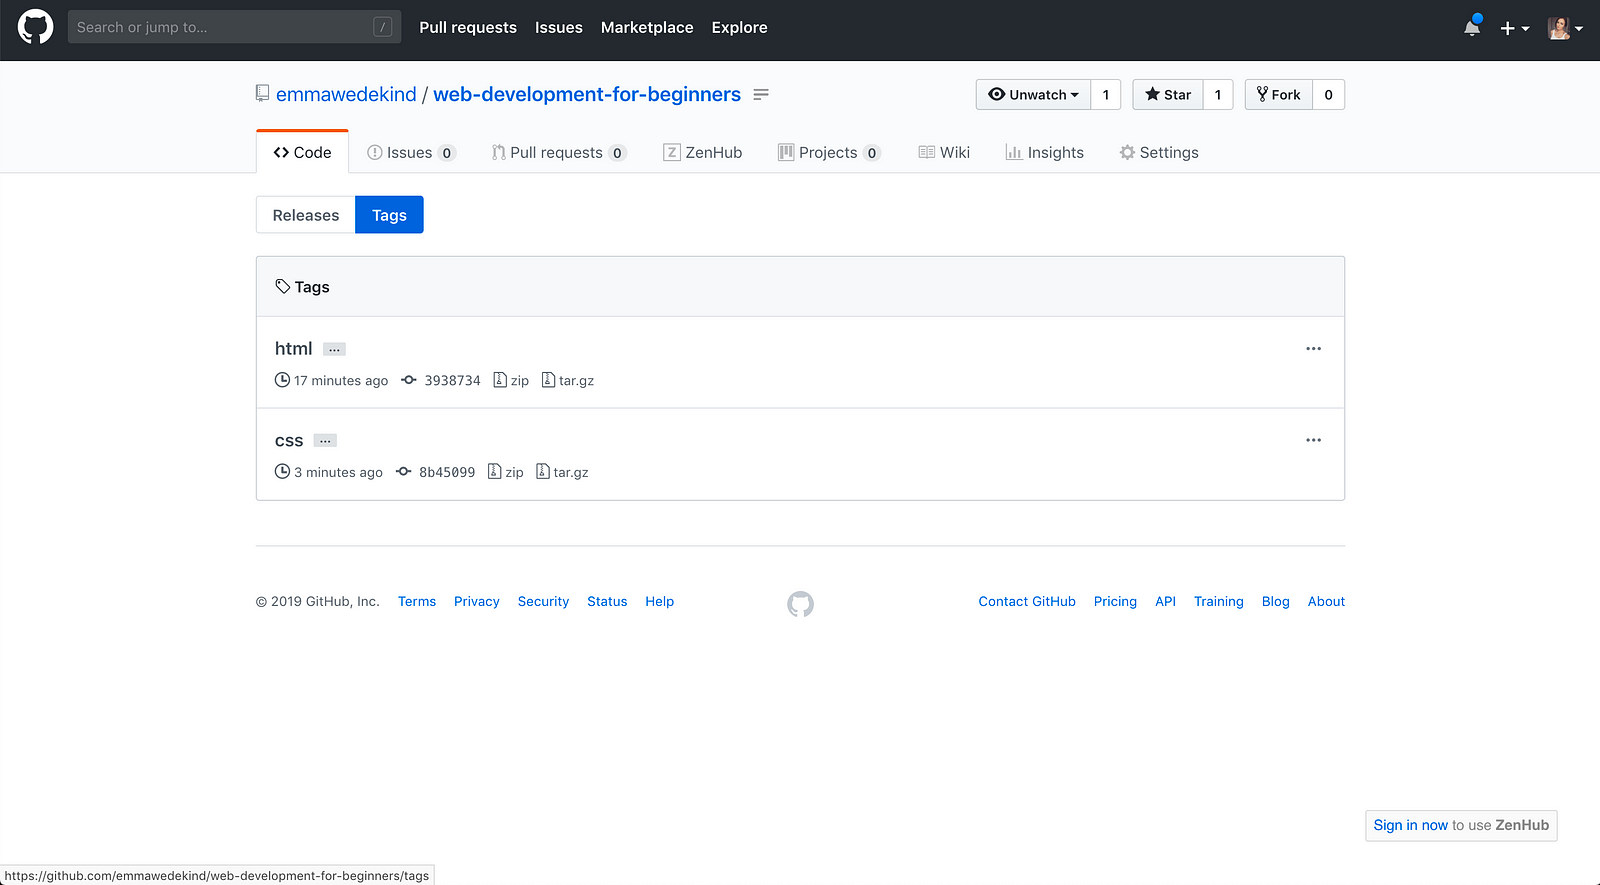
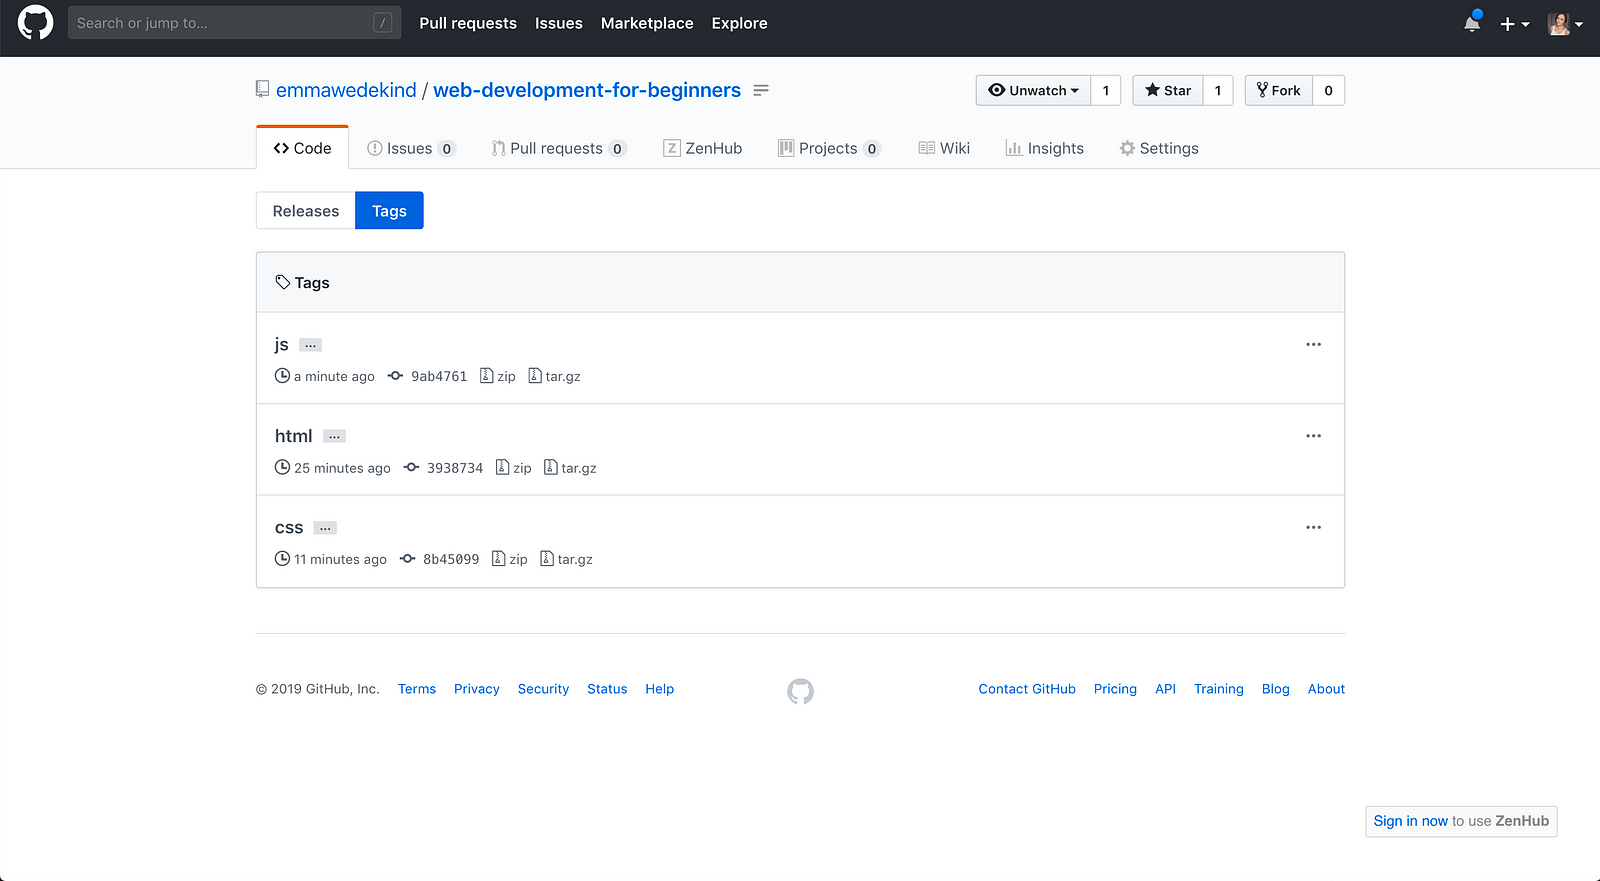
Viewing Milestones In GitHub
It’s also possible to view the milestones within GitHub. Simply click the Switch Branches drop down, and select tags.
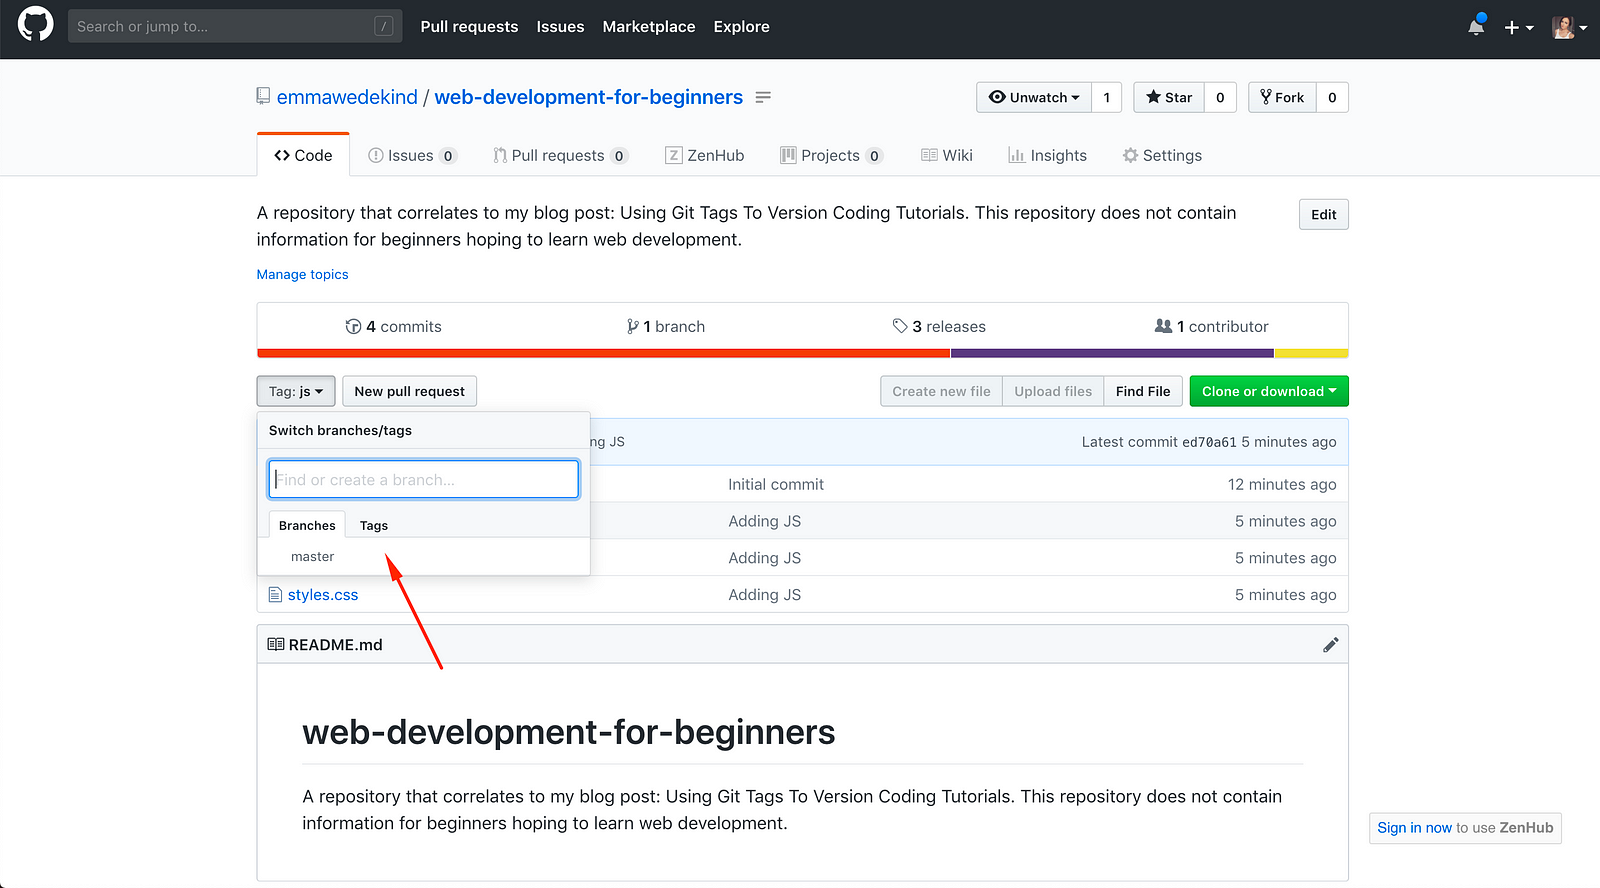
Now, you can select the tag you want to view the code for.
It’s as simple as that! I hope this tutorial proved useful and gave you the skills you need to create tags in your coding tutorials.